10 Carry-On Packing Mistakes That Are Costing You Time and Money
You've been there. You're at the gate, your carry-on packing felt rock solid at home, and then a gate agent with a measuring template appears. Your stomach drops. Or maybe you're at security, holding up an entire queue while you dig out your half-empty toiletry bag from the bottom of your bag. Or — worst of all — you land, everyone else walks straight out, and you're standing at baggage claim for 25 minutes waiting for a bag you paid $35 to check. These aren't freak accidents. They're the predictable results of a handful of very fixable carry-on packing mistakes that millions of travelers make every single trip.
Whether you're a weekend warrior or a road-warrior road-tripper, getting your carry-on only travel tips dialed in is one of the highest-return travel investments you can make. Below are the 10 mistakes that cost travelers the most time and money — and exactly how to fix each one.
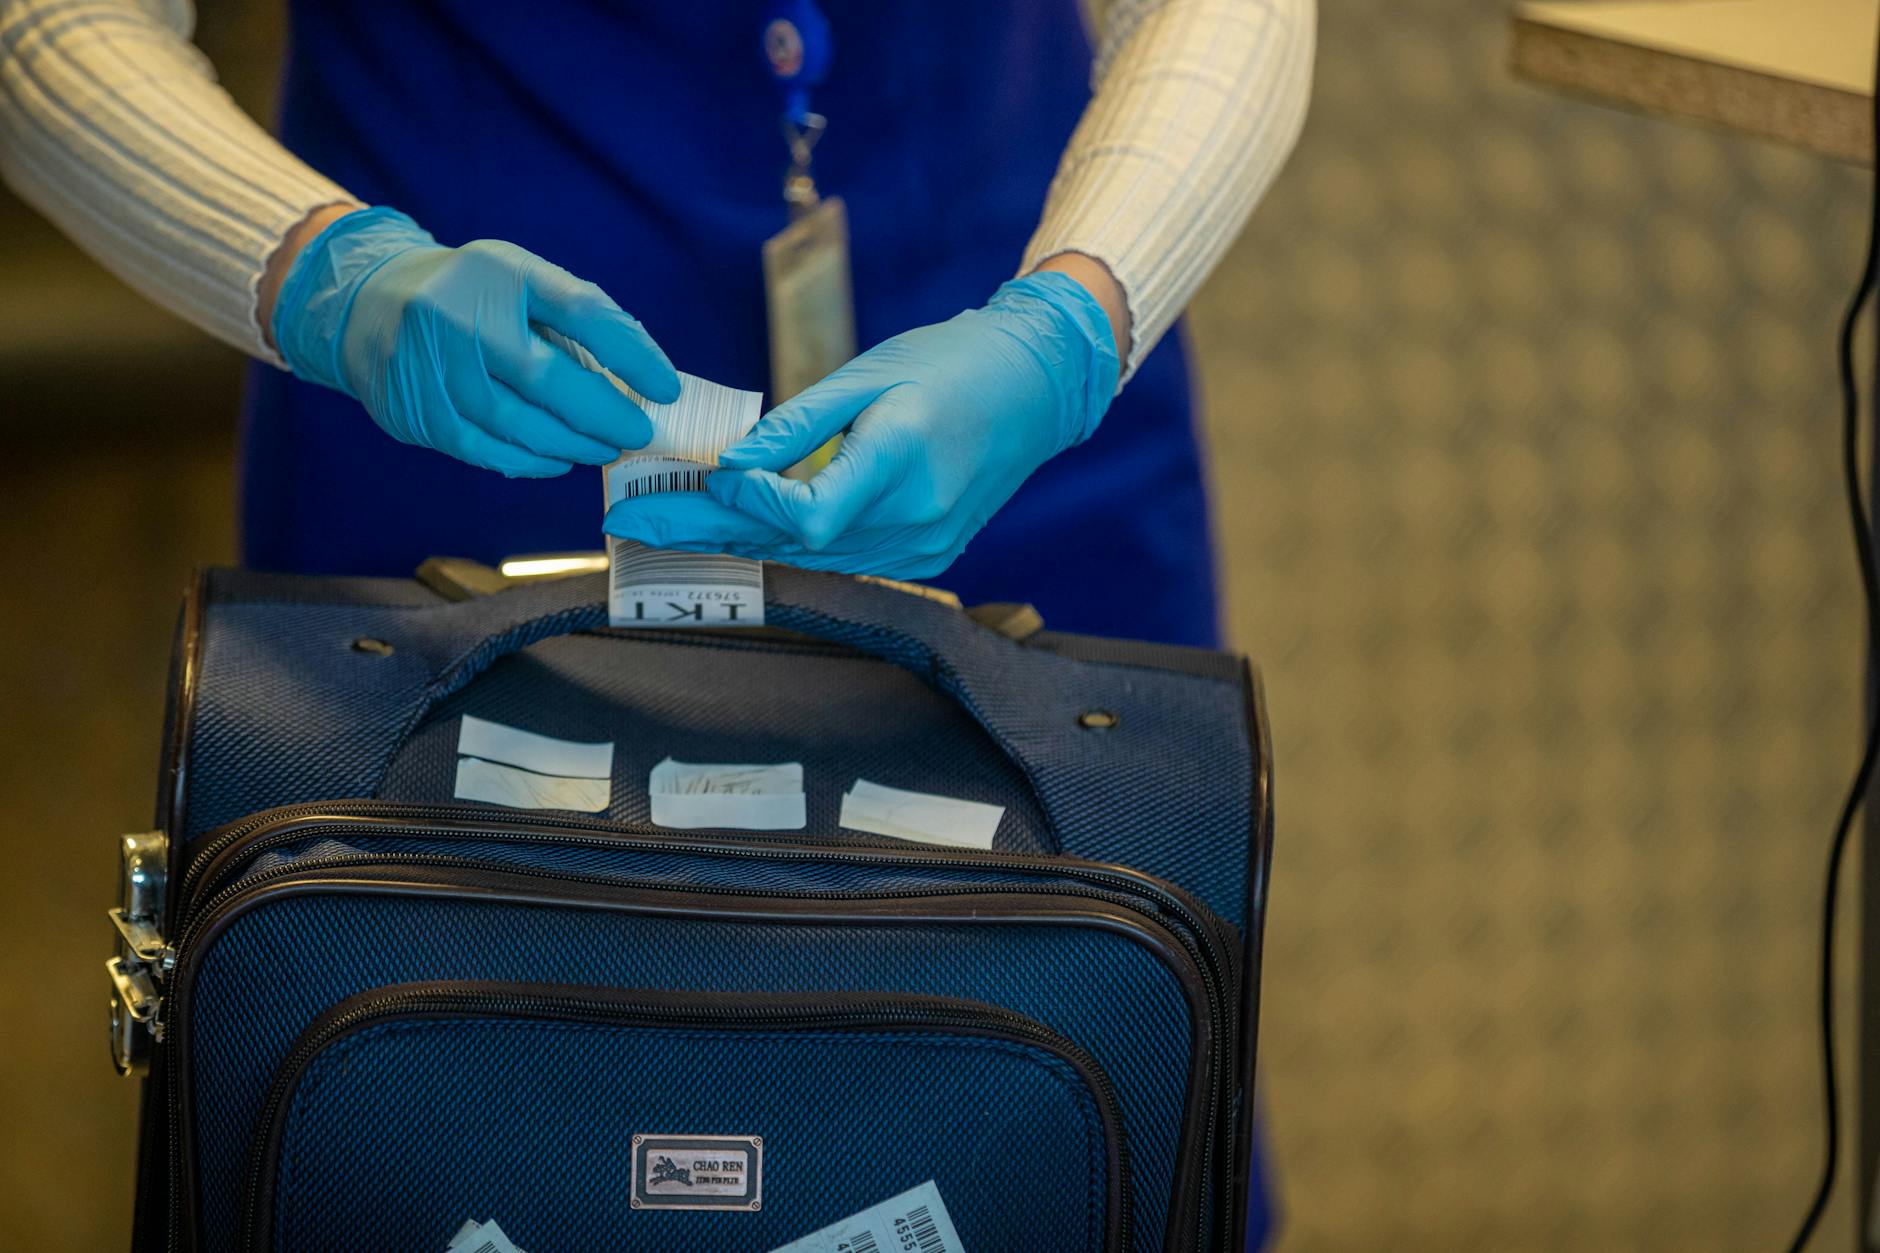
Mistake 1: Choosing the Wrong Bag Size for Your Airline
Here's a fact that surprises most travelers: there is no universal carry-on size. American Airlines allows 22 x 14 x 9 inches. Spirit Airlines allows only 22 x 18 x 10 inches — but charges for overhead bin access separately. Ryanair in Europe allows a main cabin bag of just 40 x 20 x 25 cm on their cheapest fares. If you bought a "standard carry-on" bag years ago assuming it works everywhere, you may be in for a gate-check fee that can reach $65 or more on budget carriers.
The fix: Before every trip, look up the specific bag size policy for every airline you're flying — including connection carriers, which may differ from your main carrier. A 40-liter soft-sided bag in the 22 x 14 x 9 inch range hits the sweet spot for most major US airlines. Soft-sided bags also compress slightly and survive the overhead bin squeeze test far better than rigid shells.
Mistake 2: Packing Liquids That Slow You Down at Security
The TSA 3-1-1 rule — liquids in containers of 3.4 oz or less, in one quart-sized clear bag, one bag per person — has been in effect since 2006. And yet, every single day, TSA confiscates thousands of oversized bottles and pulls passengers aside for secondary screening because their liquids weren't accessible. The average security delay caused by a liquids violation is 4 to 7 minutes per person. Multiply that across a travel day with connections and it's a real problem.
The fix: Keep your quart-sized liquids bag packed and ready to go at all times — pre-loaded with your travel-sized staples. Store it in an exterior pocket or the very top of your bag so it takes under 10 seconds to pull out at the bin. Better yet, switch to solid toiletries (shampoo bars, solid sunscreen, toothpaste tablets) to eliminate the liquids bag entirely. Solid toiletries have gotten very good, and you'll never think about the 3-1-1 rule again.

Mistake 3: No Compression System — Leaving 40% of Space on the Table
Most people fold their clothes and place them in their bag. It works, but it's wildly inefficient. A standard folded t-shirt takes up roughly twice the space of the same shirt rolled tightly, and three times the space of a shirt packed into a compression packing cube. Studies by packing enthusiasts (yes, this is a whole community) consistently show that switching from loose folding to packing cubes with compression zippers recovers 30 to 45 percent of bag volume.
The fix: Invest in a set of compression packing cubes. Roll clothing before inserting it, then compress the cube. For maximum density, pack heavier items (jeans, shoes) along the spine of the bag closest to your back, and lighter items toward the outer shell. The ranger roll method — used by military personnel — can get a t-shirt down to roughly the size of a soda can. It sounds extreme until you're fitting a week's worth of clothing into a 40-liter bag.
Mistake 4: Ignoring Weight Distribution and Shoulder Strain
Even if your bag passes size requirements with flying colors, a badly packed bag becomes a liability the moment you're speed-walking through a terminal. Bags packed with heavy items at the top pull on your shoulder and throw off your balance. Bags where the weight is distributed entirely to one side cause neck strain on long hauls between gates. This is especially painful on travel days involving multiple connections.
The fix: Pack your heaviest items — shoes, laptops, books — as close to your back as possible (the panel closest to your body when the bag is on). Medium items go in the middle, and lightweight clothing and soft items fill the outer and top sections. This keeps the center of gravity close to your body, dramatically reducing strain. If you're using a roller carry-on, heavy items should go at the bottom near the wheels.
Mistake 5: Not Separating Clean and Dirty Clothes
This mistake sounds minor until you're on day three of a five-day trip, rummaging through your bag trying to identify which of three identical black t-shirts is clean. Mixing clean and dirty clothes doesn't just create confusion — it transfers odors and moisture to clean garments, potentially meaning you need to re-wash things you haven't worn yet.
The fix: Pack a lightweight drawstring bag or a separate mesh laundry bag that compresses to almost nothing when empty. Worn clothing goes straight into it. Some travelers use the dual-sided packing cube system — clean clothes in one cube, worn clothes in another. Either way, you always know what's clean, your bag stays organized through the whole trip, and re-packing for the return flight takes two minutes instead of twenty.

Mistake 6: Overpacking 'Just in Case' Items
The "just in case" mentality is the single biggest driver of overweight, oversized bags. Just in case it rains — pack the bulky waterproof jacket. Just in case there's a formal dinner — pack the blazer and dress shoes. Just in case you feel like running — pack the full running kit. The result is a bag that weighs 22 lbs for a three-night trip and gets gate-checked on a full flight, costing you $50 and 20 minutes at baggage claim.
The fix: Apply the "one item for every two days" clothing rule for casual trips, and challenge every "just in case" item with a real probability assessment. What are the actual chances you'll need that fourth pair of shoes? If the answer is "slim," leave it. Also consider that most destinations have stores. Forgot something? You can buy it there, often cheaper than the checked bag fee you'd have paid to bring it. For rain gear, a packable ultralight shell solves 95% of situations without the bulk.
Mistake 7: No Tech Organization — Cables and Chargers Everywhere
Tech chaos is a real phenomenon. A typical traveler carries a phone charger, a laptop charger, earbuds, a portable battery pack, and maybe a camera cable. Without organization, these items tangle into a nest at the bottom of the bag, take 10 minutes to sort out at security when you need to pull out your laptop, and frequently get left behind in hotel rooms because they're hard to spot.
The fix: Use a small tech organizer — a flat zippered pouch with elastic loops — for all cables, chargers, and adapters. Everything has a dedicated spot, the organizer comes out as one unit at security, and end-of-trip packing takes 60 seconds instead of a frantic search. Cable clips or velcro ties prevent tangling. Bonus tip: pack your most-used tech (earbuds, phone charger, portable battery) in an exterior pocket for immediate access without opening the main compartment.
Mistake 8: Forgetting TSA PreCheck or Global Entry
This isn't a packing mistake in the traditional sense, but it directly affects how you should pack — and the cost of not having it is substantial. Without TSA PreCheck, you remove shoes, belts, laptops, and liquids at every domestic security checkpoint. With PreCheck, you walk through with shoes on, laptop in your bag, and liquids untouched. The average PreCheck lane wait time is under 5 minutes versus an average of 20+ minutes in standard lanes during peak travel periods.
The fix: TSA PreCheck costs $78 for five years — roughly $15 per year, or less than a single checked bag fee. Global Entry ($100 for five years) includes PreCheck and expedites customs re-entry from international trips. If you fly more than three or four times per year, this is one of the highest-ROI travel investments available. Once enrolled, you can also pack your liquids bag deeper in your bag since you won't be pulling it out at every checkpoint.
Mistake 9: Packing a Separate Personal Item When You Don't Need One
Most airlines allow both a carry-on bag and a personal item (a purse, laptop bag, or small backpack that fits under the seat). Many travelers default to using both — but the personal item often ends up nearly empty, holding a wallet, phone, and book that would fit easily in the carry-on's exterior pockets. This means you're managing two bags through security, two bags into overhead bins, and two bags off the plane. On crowded flights, the extra bag under the seat also eliminates your foot space for the entire flight.
The fix: Use your personal item slot strategically, not automatically. If your carry-on has accessible exterior pockets for a water bottle, phone, and travel documents, you may not need a second bag at all. If you do use a personal item, pack it intentionally: in-flight essentials only (book, headphones, snacks, charger). Everything else goes in the carry-on. A half-empty personal item is just extra weight and friction.
Mistake 10: Not Accounting for Purchases on the Return Trip
You packed brilliantly on the outbound trip. Your carry-on is a masterpiece of organization and efficiency. Then you spend four days in a city known for its markets, buy a few souvenirs, a bottle of local olive oil (which airport security confiscates because it's over 3.4 oz), a pair of shoes, and three books. Return day arrives and your bag won't zip. You end up paying $65 to check it at the gate, erasing every saving from the outbound flight.
The fix: Build in at least 20 percent buffer space when packing for trips where you anticipate shopping. Compression packing cubes help here — you can leave one cube half-empty on the way out, knowing it'll be full on the return. For large purchases, ship items home via local post (often cheaper than airline fees). For liquids like wine, olive oil, or sauces, either check a dedicated bag from the destination airport or use a specialized luggage shipping service. Plan the return trip before you leave home.
How to Fix All 10 Mistakes Before Your Next Trip
The good news: none of these mistakes require expensive gear or radical lifestyle changes. Most can be fixed with a one-time adjustment to your packing habits. Here's a condensed pre-trip checklist that addresses all 10 issues at once:
- Check airline bag size limits for every carrier in your itinerary before you pack — not at the gate.
- Pre-load your liquids bag with travel-sized items and store it at the very top of your bag or in an exterior pocket.
- Use compression packing cubes and roll clothing before inserting. Aim to fill your bag to 80%, leaving buffer for return purchases.
- Pack heaviest items closest to your back or at the bottom of a roller bag to balance the load.
- Include a lightweight laundry bag for worn clothing and use it consistently from day one.
- Challenge every "just in case" item with a probability question. If the odds are low, leave it.
- Pack a tech organizer pouch with dedicated spots for each cable and charger.
- Apply for TSA PreCheck or Global Entry if you don't have it yet — it changes the entire security experience.
- Only use your personal item slot if it will be meaningfully full. An empty personal item is just a hassle.
- Leave intentional space for return purchases and know your plan for larger or liquid souvenirs before you buy them.
The cumulative impact of fixing these 10 carry-on packing tips is significant. Over a year of regular travel, the combination of avoided checked bag fees ($35–$65 per bag, per flight), reclaimed time at security, and the elimination of gate-check stress can save a frequent traveler several hundred dollars and multiple hours. More importantly, it makes the actual experience of traveling dramatically less stressful — which is, arguably, the whole point.
Packing light for travel isn't about deprivation. It's about intentionality. Bring exactly what you need, organized in a way that moves smoothly through airports, and leave everything else at home. Once you nail this system, you'll wonder how you ever traveled any other way.
Key Takeaways
- Always verify your airline's specific carry-on size before each trip — the rules vary more than most travelers realize.
- The TSA 3-1-1 liquids rule is non-negotiable; keep your bag accessible or switch to solid toiletries entirely.
- Compression packing cubes are the single biggest space multiplier available to carry-on travelers.
- Heavy items belong closest to your back; the physics of weight distribution make a real difference over long travel days.
- TSA PreCheck ($78 for five years) costs less than two checked bag fees and saves hours per year.
- Always account for the return trip — a bag that fits perfectly going out can become an expensive problem coming home.