12 Household Repairs You Can Fix in Under 10 Minutes Without Calling a Pro
Most homeowners and renters share one thing in common: a growing mental list of small things that need fixing. A cabinet door that droops. A faucet that drips. A door that squeaks every single morning. These easy household repairs feel manageable in isolation, but between busy schedules and the assumption that "you need a professional for that," they pile up — and so do the costs.
Here's the reality: the majority of everyday household fixes require nothing more than a basic screwdriver, a few minutes, and a bit of confidence. DIY repairs under 10 minutes are not just possible — they're the norm once you know what you're doing. This guide walks you through 12 of the most common simple home repairs step by step, so you can tackle them today without waiting, without scheduling a service call, and without spending a dime on labor.
Why Small Repairs Add Up Faster Than You Think
A single service call from a handyman typically costs $75–$150 just for the visit, before any parts. If you're calling someone in to tighten a door hinge or replace a showerhead, you're paying for expertise you don't actually need. Beyond the money, deferred repairs create compounding problems — a sticky door can warp over time, a dripping faucet wastes thousands of gallons per year, and a loose toilet seat screw can crack porcelain if ignored long enough.
Learning quick home fixes isn't about becoming a full-time handyman. It's about knowing which repairs are genuinely simple and having the confidence to do them. Let's start building that confidence right now.

The 12 Easiest Household Repairs
1. Tighten Loose Cabinet Door Screws
Time estimate: 2–3 minutes | Difficulty: Beginner
Tools needed: Phillips-head screwdriver
Cabinet doors that sag or don't close properly are almost always caused by loose hinge screws — one of the most overlooked household fixes for beginners.
- Open the cabinet door fully and locate the hinges on the door side and the frame side.
- Use a Phillips-head screwdriver to tighten each screw clockwise until snug. Do not overtighten.
- Close and open the door to test alignment. If a screw spins freely without catching, see Repair #4 (patching a stripped screw hole).
2. Fix a Running Toilet
Time estimate: 5–8 minutes | Difficulty: Beginner
Tools needed: None (or adjustable pliers)
A toilet that keeps running after flushing is almost always caused by a faulty flapper — the rubber seal at the bottom of the tank.
- Remove the toilet tank lid and set it safely aside.
- Look at the flapper (the rubber disc at the tank bottom). If it looks warped, cracked, or doesn't seal flat, it needs replacing.
- Turn off the water supply valve (behind the toilet, near the floor) by turning it clockwise.
- Unhook the old flapper from the overflow tube and disconnect the chain from the flush handle arm.
- Snap on a universal replacement flapper (available at any hardware store for under $5) and reconnect the chain, leaving about half an inch of slack.
- Turn the water supply back on and flush to test.
3. Adjust a Sticky Door Hinge
Time estimate: 3–5 minutes | Difficulty: Beginner
Tools needed: Phillips-head screwdriver, optional: cardboard shim
A door that sticks, rubs, or won't latch is usually a hinge alignment issue — not a frame problem.
- Identify which hinge is causing the problem. Look for paint scraping or visible gaps between the door and frame.
- Tighten all screws on both the door-side and wall-side of that hinge first. This alone fixes the issue 80% of the time.
- If the door still binds, the hinge may be recessed too deeply. Cut a thin piece of cardboard to the hinge size and place it behind the hinge plate as a shim before re-screwing.
- Open and close the door several times to confirm smooth operation.
4. Patch a Stripped Screw Hole
Time estimate: 5–7 minutes | Difficulty: Beginner
Tools needed: Toothpicks or wooden matchsticks, wood glue, screwdriver
When a screw spins without gripping, the hole has stripped. This is one of the most satisfying quick home fixes once you know the trick.
- Remove the screw and clear any debris from the hole.
- Dip 2–3 toothpicks in wood glue and push them into the hole until snug.
- Break off the toothpick ends flush with the surface.
- Allow the glue to dry for 5 minutes (or use fast-dry wood glue).
- Drive the original screw back in. The wood fibers from the toothpicks give it something solid to grip.

5. Replace a Showerhead
Time estimate: 5–7 minutes | Difficulty: Beginner
Tools needed: Adjustable wrench, plumber's tape (Teflon tape)
Swapping a showerhead is one of those easy household repairs that instantly upgrades your daily experience.
- Turn off the shower water and place a towel in the tub to catch dropped parts.
- Use an adjustable wrench to loosen and remove the old showerhead by turning counterclockwise. Wrap the wrench jaws in a cloth to avoid scratching the pipe.
- Clean any old Teflon tape off the shower arm threads using a dry rag.
- Wrap 2–3 layers of fresh plumber's tape clockwise around the threads.
- Hand-tighten the new showerhead, then give it one final snug turn with the wrench. Do not overtighten.
- Turn the water on and check for drips at the connection point.
6. Fix a Leaky Faucet (Aerator Cleaning)
Time estimate: 5–8 minutes | Difficulty: Beginner
Tools needed: Adjustable pliers, small brush or toothbrush
A faucet that drips or sputters with low pressure usually has a clogged aerator — the small mesh screen at the tip of the spout.
- Place a cloth in the sink drain so small parts don't fall in.
- Unscrew the aerator from the faucet tip by hand (counterclockwise). If it's tight, wrap pliers with tape and use gentle pressure.
- Disassemble the aerator pieces and rinse them under water, noting the order of the parts.
- Scrub the mesh screen with a toothbrush to remove mineral deposits. For stubborn buildup, soak parts in white vinegar for 5 minutes.
- Reassemble in the same order and screw back onto the faucet. Test the flow.
7. Silence a Squeaky Door
Time estimate: 2–4 minutes | Difficulty: Beginner
Tools needed: Hammer, nail or pin, petroleum jelly or WD-40
A squeaking door hinge is one of the most annoying problems at home — and one of the fastest to solve.
- Open the door to a 90-degree angle to relieve tension on the hinge.
- Use a pin or nail and a hammer to tap the hinge pin upward and remove it from the hinge barrel. (Most hinges have removable pins.)
- Clean off any rust or grime from the pin with a dry cloth.
- Apply a thin coat of petroleum jelly, olive oil, or a spray lubricant along the length of the pin.
- Reinsert the pin and tap it back down into place with the hammer.
- Open and close the door several times to work the lubricant in.
8. Tighten Loose Drawer Pulls
Time estimate: 1–2 minutes per drawer | Difficulty: Beginner
Tools needed: Flathead or Phillips screwdriver (or small wrench)
Wobbly drawer handles are a quick win — this is the simplest repair on the entire list.
- Open the drawer and look inside the front panel for the nut or bolt holding the pull in place.
- Hold the pull from the outside with one hand while tightening the bolt or nut from the inside with a screwdriver or wrench.
- If the pull still feels loose, add a small washer behind the bolt to improve grip.
9. Replace Worn Weather Stripping
Time estimate: 8–10 minutes | Difficulty: Beginner
Tools needed: Scissors, utility knife, tape measure
Drafty doors are a direct hit to your energy bill. Replacing weather stripping is one of the most impactful simple home repairs you can make.
- Peel or scrape off the old weather stripping from the door frame. Clean the surface with a dry cloth.
- Measure the height and width of the door frame sections you need to cover.
- Cut self-adhesive foam or rubber weather stripping to length using scissors.
- Peel the backing and press firmly along the door stop (the narrow ledge where the door meets the frame).
- Close the door and check for any remaining gaps. Add a second strip if needed on particularly drafty edges.
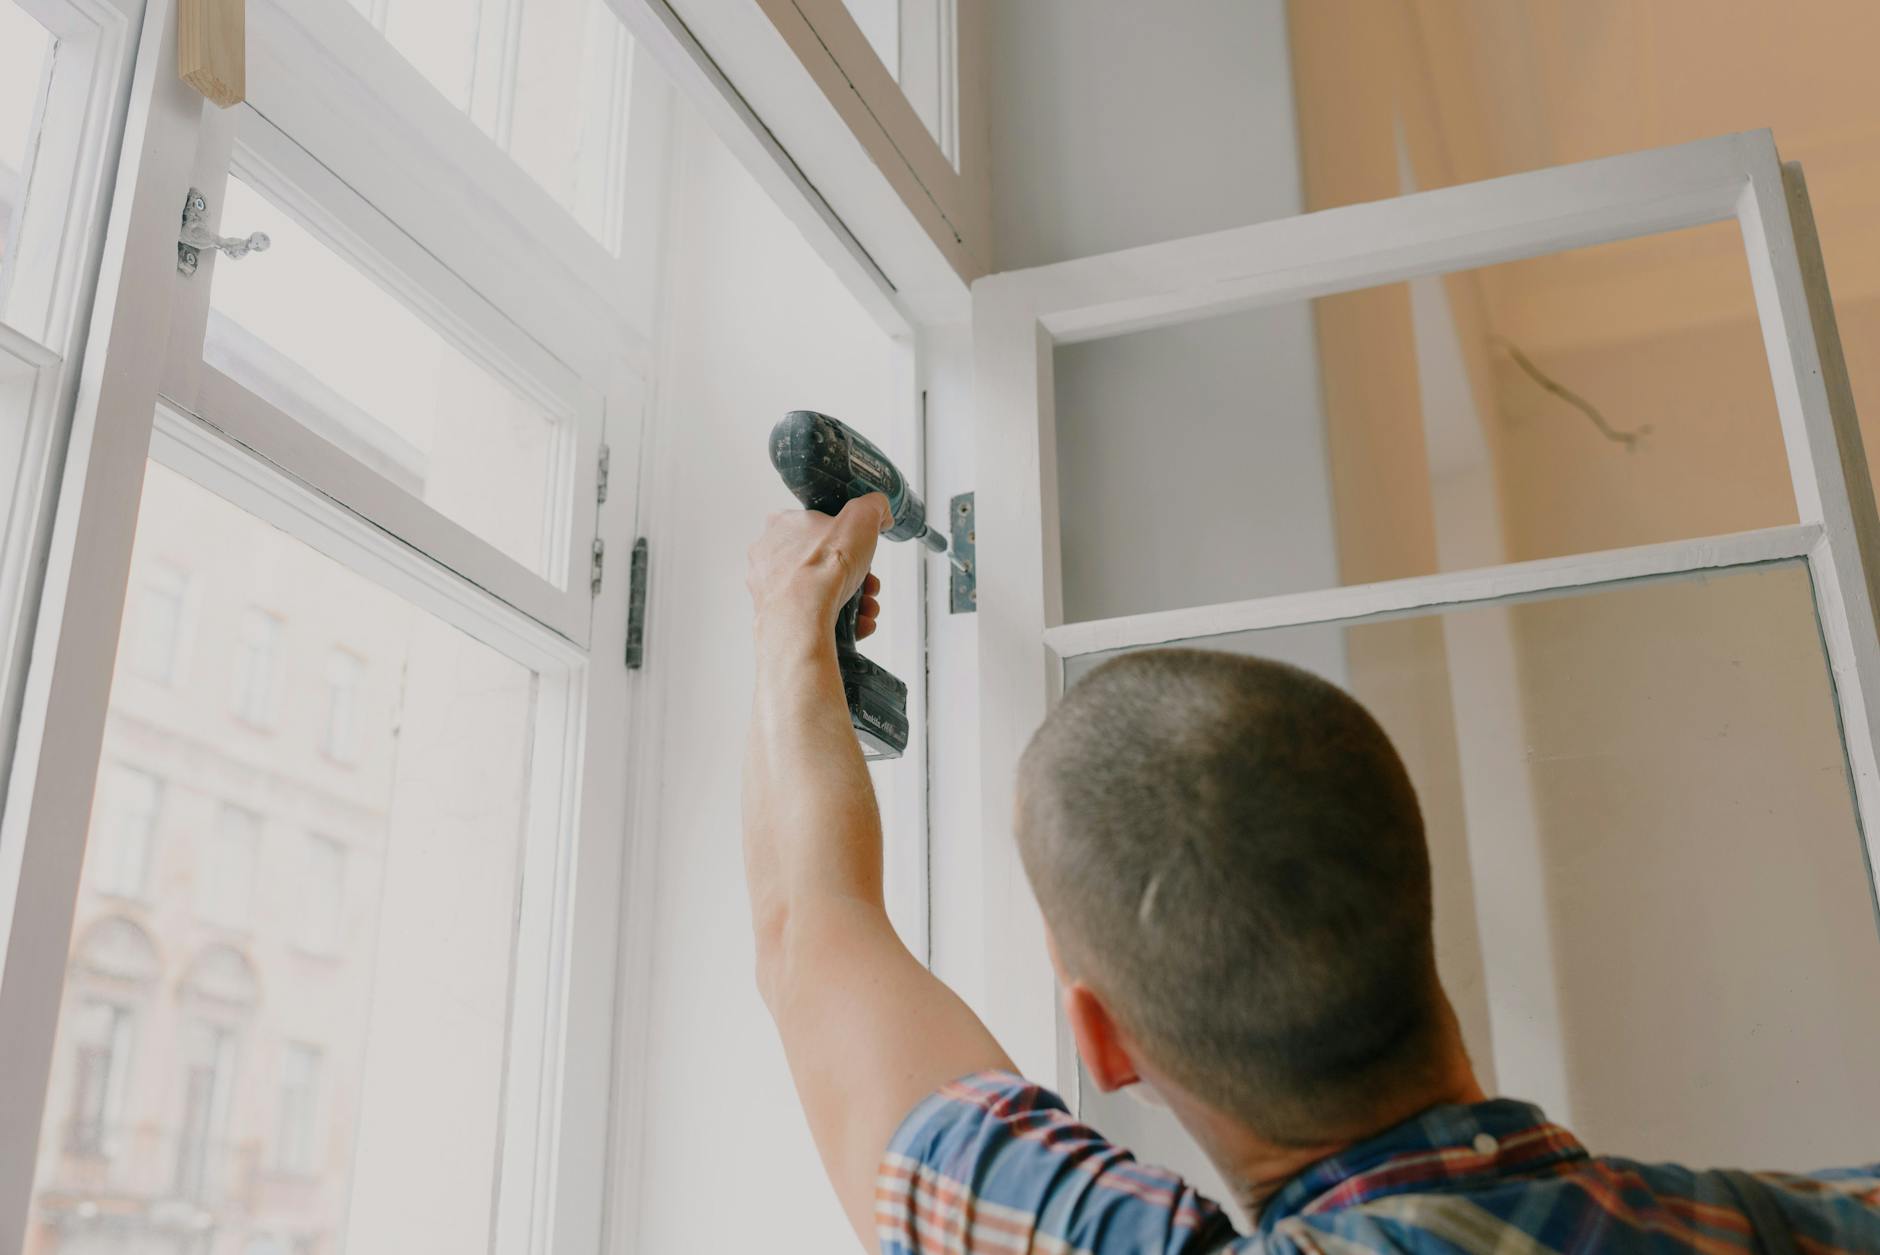
10. Fix a Stuck Window
Time estimate: 5–7 minutes | Difficulty: Beginner
Tools needed: Utility knife or box cutter, sandpaper (optional), candle wax or soap bar
Windows painted shut or swollen from humidity are a common issue — especially in older homes.
- If the window was painted shut, run a utility knife along the seam between the sash and the frame to break the paint seal. Work the full perimeter.
- Try lifting the window gently by pushing up on both sides evenly. Avoid forcing it with a single point of pressure.
- If friction is the issue (not paint), rub a candle or bar of soap along the window channel tracks where the sash slides.
- For swollen wood, a light pass with fine-grit sandpaper on the rubbing edges can restore easy movement. Sand only where the friction occurs.
11. Adjust a Closet Door Track
Time estimate: 5–8 minutes | Difficulty: Beginner
Tools needed: Phillips screwdriver, adjustable wrench
Sliding or bi-fold closet doors that jump off track or drag on the floor are almost always a roller or bracket adjustment issue.
- For a sliding door that drags: locate the adjustment screws on the roller brackets at the top of the door. Turning them clockwise raises the door off the floor.
- For a door that has come off the bottom track: lift the top of the door into the upper track first, then guide the bottom pivot pin into the floor bracket.
- For a bi-fold door that won't stay aligned: adjust the tension screw at the top pivot bracket using a Phillips screwdriver until the door hangs plumb.
- Test by sliding or folding the door through its full range of motion.
12. Repair a Loose Electrical Outlet Cover
Time estimate: 1–2 minutes | Difficulty: Beginner
Tools needed: Flathead screwdriver
Important: This repair covers replacing or tightening the decorative cover plate only — not any wiring. If the outlet itself is faulty, call a licensed electrician.
- Locate the single screw in the center of the outlet cover plate.
- Tighten it clockwise with a flathead screwdriver until the plate sits flush and doesn't wiggle. Do not overtighten, as this can crack the plastic cover.
- If the cover is cracked or broken, unscrew it fully and replace it with a new cover plate (available for under $1 at any hardware store).

Tools You'll Need for Most Repairs
You don't need a garage full of equipment to handle household fixes for beginners. The following starter kit covers ten of the twelve repairs above:
- Phillips-head screwdriver — the single most useful tool in any home
- Flathead screwdriver — covers outlet covers, prying, and slotted screws
- Adjustable wrench — handles plumbing connections and bolts
- Needle-nose pliers — useful for gripping small parts in tight spaces
- Utility knife / box cutter — cutting weather stripping and breaking paint seals
- Tape measure — measuring for weather stripping and replacement parts
- Hammer — tapping hinge pins and light driving tasks
- WD-40 or petroleum jelly — lubricating hinges and window tracks
- Plumber's tape (Teflon tape) — sealing threaded plumbing connections
- White vinegar — dissolving mineral deposits from aerators and fixtures
A basic toolkit with all of the above can be assembled for under $40, and most of it you may already own. If you're starting from zero, a bundled starter toolkit from any hardware store or big-box retailer will cover everything you need.

When to Call a Pro
These easy household repairs are genuinely DIY-friendly, but knowing the limits of safe self-repair is just as important as knowing what you can handle. Call a licensed professional when:
- Electrical wiring is involved. Replacing a cover plate is fine; touching wires, outlets, or your breaker panel is not. Always hire a licensed electrician for wiring work.
- The water supply pipe itself is leaking — not just a fixture or aerator. Pipe leaks behind walls or under slabs require a plumber.
- Structural or load-bearing elements are involved, such as sagging floors, cracked foundation walls, or leaning support beams.
- Mold is present behind walls or under flooring. Improper mold remediation can spread spores throughout your home.
- Gas lines or appliances are involved in any way. Gas work always requires a certified professional.
- You are unsure about local building codes or whether a permit is required. Some repairs in rental units may also require landlord approval before you proceed.
When in doubt, a quick consultation call with a plumber or electrician is often free and can confirm whether the job is DIY-safe or not.
Key Takeaways: Build Your Repair Confidence One Fix at a Time
Every skilled homeowner started exactly where you are now — looking at a list of small problems and wondering where to begin. The most important insight from this guide is this: quick home fixes are not about skill level. They are about having the right information and being willing to try.
Start with the easiest repair on this list — tightening those cabinet screws or silencing that squeaky door. The moment you complete your first successful fix, the rest of the list becomes far less intimidating. Over time, these small wins compound into genuine competence, and the habit of deferring every minor problem to a service call disappears.
Keep a basic toolkit accessible (not buried in a closet), bookmark this guide for reference, and approach each repair one step at a time. You'll be surprised how quickly a house full of small annoyances becomes a home that's fully under your control.