Content Creator Lighting on a Budget: 5 Setups From Free to $50
Last updated: March 24, 2026
Here is the truth nobody tells new YouTubers: most viewers will forgive shaky camera work and an imperfect background, but poor lighting kills a video before the first 10 seconds are up. The problem is that most beginner guides immediately point you toward $200 softbox kits or $150 ring lights — gear that makes zero sense to buy before you have even posted your first video.
This guide is different. A solid content creator lighting setup on a budget does not require a credit card swipe. Below you will find five real, practical lighting setups starting at literally $0, stepping up to $50 in small increments. Each one has been used by working creators. Each one can produce footage good enough to grow a channel. And each one comes with honest guidance on which type of content it suits best.
Whether you are figuring out how to film YouTube videos at home for the very first time, or you have posted a few videos and want a noticeable upgrade without spending a lot, there is a setup here for you.
Why Lighting Matters More Than Your Camera
Smartphone cameras in 2026 are genuinely excellent — most modern phones can shoot 4K footage that would have required a $3,000 cinema camera a decade ago. But no camera sensor in the world can compensate for bad light. Here is what actually happens in low-light conditions:
- The camera's ISO climbs, introducing visible grain (noise) into your footage
- Autofocus becomes unreliable and hunts back and forth during shots
- Skin tones look muddy, greenish, or flat
- The background loses detail and turns into an indistinct blob
- Compression artifacts become more visible when you upload to YouTube or Instagram
Good light, on the other hand, does the opposite of all of that. It makes your footage crisp, your colors accurate, and your face readable and engaging — even on a phone filmed against a plain wall. The payoff-to-cost ratio for lighting improvements is the highest of any gear investment you can make as a new creator.
The 5 Budget Lighting Setups, Ranked by Price
Below are five affordable video lighting for beginners setups organized from cheapest to most expensive. For each one you will find what you need, how to set it up, and what kind of content it works best for.
Setup 1: Natural Window Light — $0

What you need: A window. That is genuinely it.
How to set it up: Position yourself so the window is directly in front of you or at a 45-degree angle to your face — never behind you. Light coming from behind your head creates silhouette footage where your face is dark and unreadable. On overcast days, the entire sky acts as one enormous softbox, producing beautifully diffused, shadow-free light. On sunny days, hang a white bedsheet or a piece of white tissue paper over the window to soften harsh direct rays.
The key variable is time of day. The window in your space will be brightest at different times depending on which direction it faces. North-facing windows give soft, consistent light all day. East-facing windows are bright in the morning and dim by afternoon. West-facing windows flip that. South-facing windows can be very harsh around midday. Film a short test clip at different times and watch it back — you will quickly learn when your window is at its best.
What it works for: Talking-head videos, vlogs, Instagram Reels, podcast recordings with video, and any format where your face is the main visual element. Natural light is particularly flattering for lifestyle and wellness content.
Limitations: You are at the mercy of weather, time of day, and season. Consistency is the main challenge — your lighting will look different from video to video unless you always film at the same time.
Setup 2: The Lamp Reflector Hack — ~$5
What you need: Any floor or table lamp you already own, plus a large piece of white foam board or white poster board (available at dollar stores for $1–$2).
How to set it up: Place your lamp to one side of your filming position at roughly 45 degrees. This creates what cinematographers call "key light" — the main light source that defines the shape of your face. Then position the white foam board on the opposite side, angled toward your face. This board acts as a reflector, bouncing some of the key light back onto the shadowed side of your face and preventing one side from going completely dark.
Use a warm-toned bulb (2700K–3000K) for cozy lifestyle content, or a daylight bulb (5000K–6500K) for a cleaner, more neutral look that works well for tech, education, or business content. The bulb type matters enormously — a mismatched color temperature will make your footage look orange and tungsten-y on one side.
What it works for: Talking-head videos, educational content, podcast video, and any setup where you want more directional, intentional light than a window provides. This is an excellent DIY lighting setup for videos that most people can build with items already in their home.
Limitations: Single-lamp setups produce one lit side and one shadowed side. The reflector helps balance this out, but the shadow side will still be dimmer than with a proper two-light setup. Also, household bulbs vary wildly in brightness — a 40-watt equivalent LED is much dimmer than a 100-watt equivalent.
Setup 3: The LED Desk Lamp Trick — ~$15
What you need: A dimmable LED desk lamp with adjustable color temperature (these are widely available on Amazon and at stores like Target for $12–$18) and ideally the same white foam board reflector from Setup 2.
How to set it up: This is where things get genuinely useful. A color-adjustable desk lamp lets you dial in the exact color temperature you want, which solves the consistency problem of using random household bulbs. Place the lamp at eye level or slightly above, about 2–3 feet from your face, at a 45-degree angle. Point it at your face — not at the ceiling or wall.
The reason eye-level or slightly above is important: light coming from below your face (like a desk lamp sitting on a surface that is lower than your chin) creates an unnatural, unflattering look. Light from directly above creates raccoon eyes and harsh shadows under the nose. Light from slightly above and to the side, aimed at your face, is the Hollywood standard for a reason — it is simply the most flattering angle for most people.
Use the dimmer to control intensity. If the light looks blown-out or harsh on camera, dim it down or move the lamp further back. Most cameras will auto-expose to the light, so you want the lamp bright enough that the camera does not push its ISO up into noisy territory, but not so bright that it washes out your features.
What it works for: This is probably the best all-around option for someone doing a cheap lighting setup for YouTube who wants real control over their look. It works for talking heads, product reviews, beauty content, and educational videos.
Limitations: A single desk lamp still produces a one-sided look without a reflector. The lamp's LED panel is also relatively small, which means the light is harder and less diffused than a softbox or large window. Placing a piece of white translucent fabric or parchment paper in front of the bulb helps soften it.
Setup 4: The Clip-On Ring Light — ~$28

What you need: A small clip-on ring light that mounts directly to a phone or laptop. These typically run $20–$35 and include USB charging, dimmability, and adjustable color temperature in a package the size of a hockey puck.
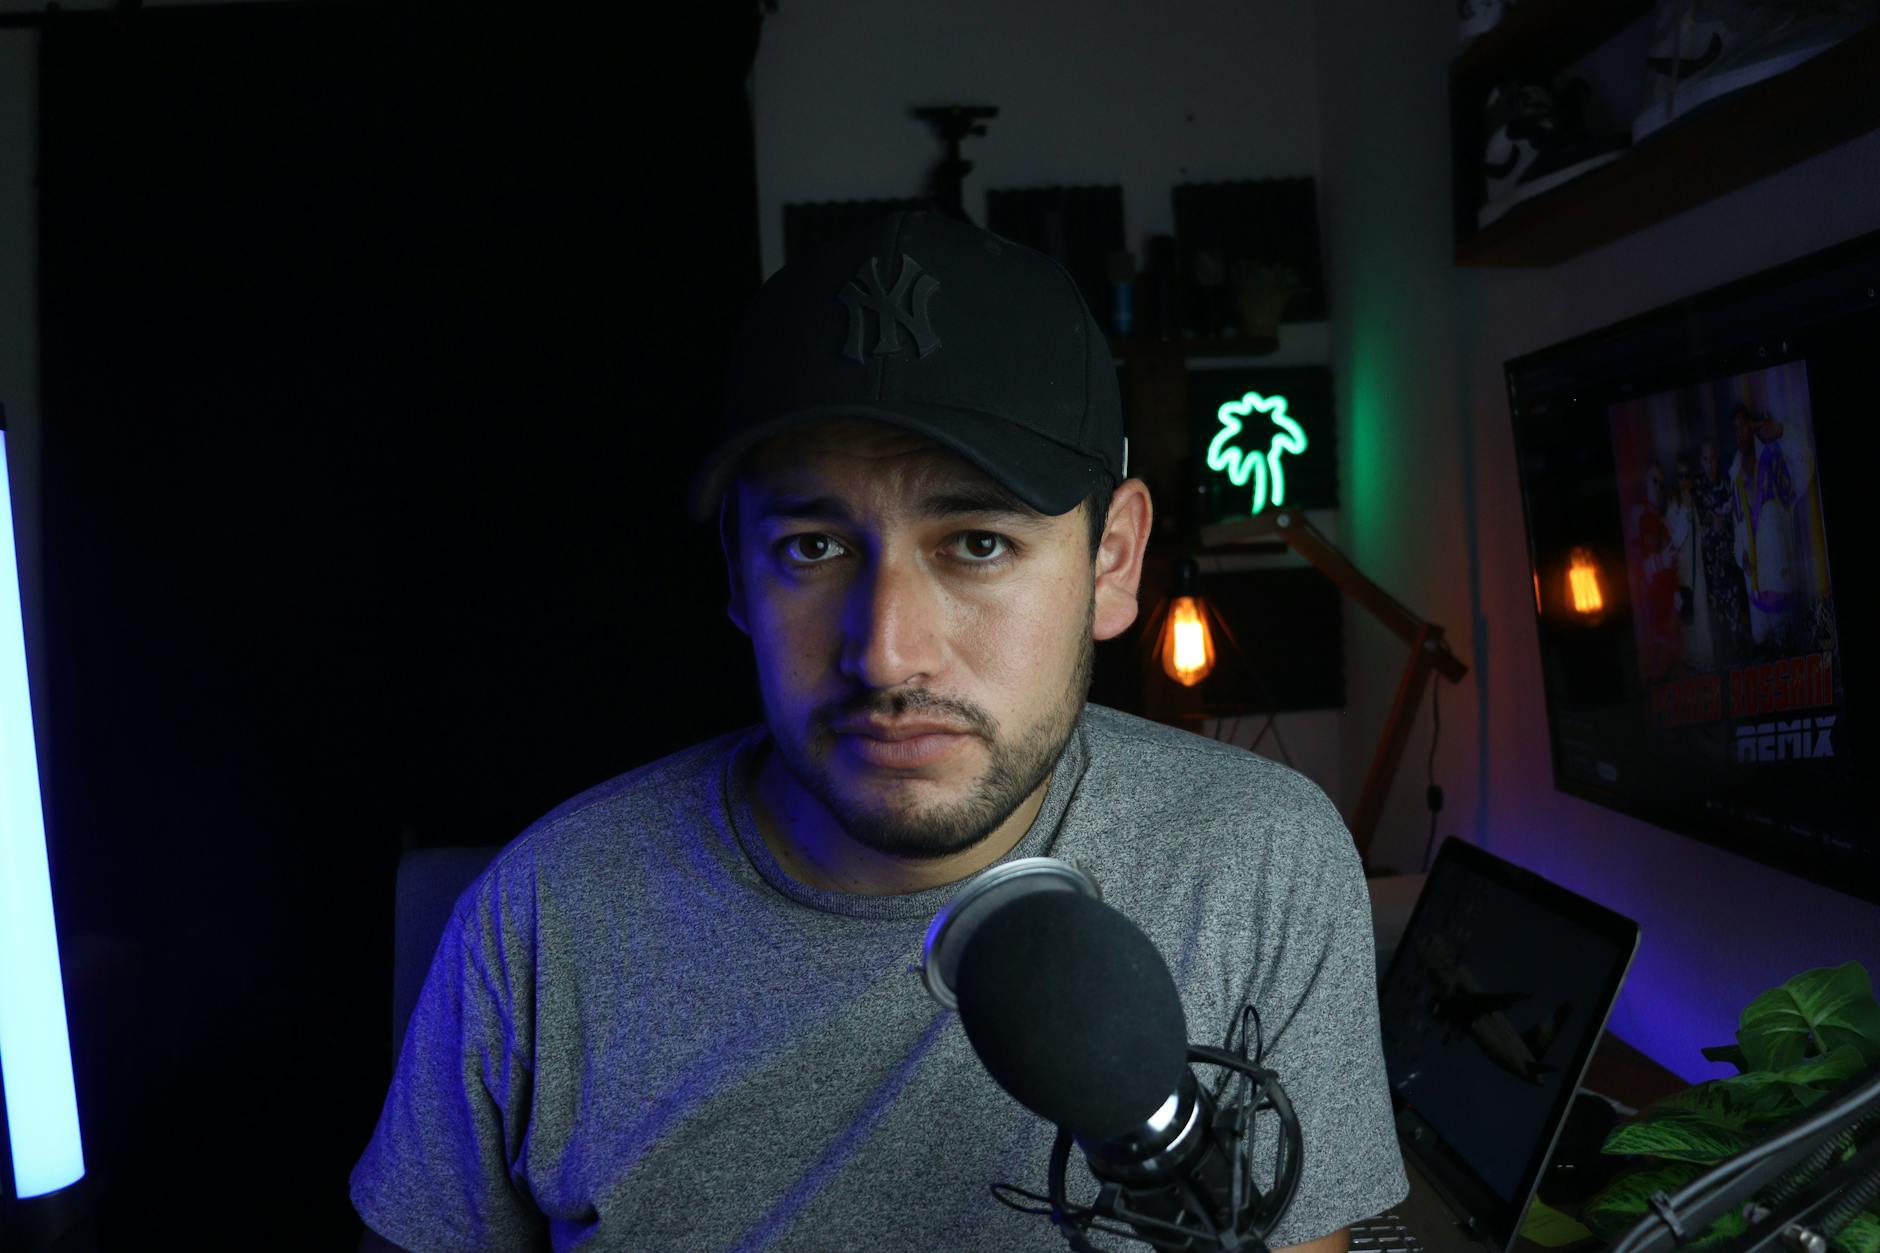
How to set it up: Clip the ring light onto the top of your phone or laptop screen so that the light is centered just above your camera lens. This creates what is called "catchlights" in your eyes — those small, bright reflections visible in your pupils that make eyes look alive and engaged on camera. Without catchlights, eyes can look flat and dull even in otherwise well-lit footage.
The circular shape of the ring light also creates a distinctive circular catchlight reflection, which has become almost synonymous with influencer and beauty content at this point. If you want that look — you now know where it comes from.
Most clip-on ring lights have three color temperature modes (warm, neutral, daylight) and a brightness dial. Set it to match your ambient room lighting to avoid a two-tone color cast on your face. If your room is warm (yellowish ceiling lights), use the warm setting. If you have overhead white LED lighting, use the daylight setting.
What it works for: This is the go-to for beauty content, makeup tutorials, skincare videos, and any close-up talking-head format. It is also excellent for video calls that you are recording, reaction videos, and short-form vertical content for TikTok or Instagram Reels. The portability means you can use it anywhere — at a desk, in a car, in a coffee shop.
Limitations: The ring light is small, so its effective range is limited to roughly 3 feet from your face. It is not powerful enough to light a wider scene or illuminate a background. It also creates that distinctive circular catchlight which some creators find too "influencer-coded" for more serious or educational content styles.
Setup 5: Two-Point Softbox Kit — ~$50

What you need: A two-light softbox kit. Affordable versions from brands like Neewer, Raleno, or Fovitec are available on Amazon for $40–$55 and typically include two collapsible softboxes with bulbs and stands.
How to set it up: This is a proper two-point lighting setup, and it is the foundation of how professional video is lit. Place one softbox (your "key light") at 45 degrees to one side of your face, slightly above eye level. Place the second softbox (your "fill light") on the opposite side, also at 45 degrees but further back or dimmed to about 50–60% of the key light's intensity. The fill light softens the shadows created by the key light without eliminating them entirely — leaving some shadow is what gives your face definition and dimension.
The softbox fabric diffuses the LED light inside, creating a large, soft light source. Large light sources produce soft shadows with gradual transitions — this is why softbox light looks so much more professional and flattering than bare bulb light, which creates harsh, hard-edged shadows.
If you want to go further, you can add a third element: a hair or rim light positioned behind and slightly above you, pointing at the back of your head. This separates you from the background and adds a professional "broadcast" quality to your footage. A simple desk lamp or even a string of LED lights behind you can serve this purpose.
What it works for: This is the best lighting for content creation under $50 if you are committed to regular uploads and want a consistent, professional look. It excels for talking-head channels (education, finance, health, tech commentary), product review videos where you hold up items on camera, interview-style formats, and any content where you want the background to also be visible and well-lit.
Limitations: Softbox stands take up floor space, and setup and teardown takes a few minutes. If you are filming in a small room or sharing your space, this can be inconvenient. The stands are also relatively fragile at this price point — avoid letting them tip over with the softboxes attached.
Which Setup is Right for Your Content Type?
Here is a quick decision framework based on the type of content you are creating. Matching your lighting choice to your content format saves money and produces better results than just buying the most expensive option you can afford.
| Content Type | Best Starting Setup | Upgrade To |
|---|---|---|
| Talking head / education | Window light or LED desk lamp | Two-point softbox kit |
| Beauty / makeup / skincare | Clip-on ring light | Large ring light on stand (~$60) |
| Product reviews / unboxing | Window light + reflector | Two-point softbox kit |
| Gaming / screen-based | LED desk lamp (behind monitor) | LED bias lighting strip + key light |
| Cooking / crafts / DIY | Window light from above or side | Overhead LED panel light |
| Short-form / Reels / TikTok | Clip-on ring light | Portable LED panel with stand |
5 Lighting Mistakes Beginners Make (and How to Avoid Them)
Even with the right equipment, a few common errors will undermine your footage. Here are the ones that show up most often in beginner creator videos.
1. Lighting from behind
Placing a window or bright lamp behind you is the single most common mistake in beginner videos. Your camera exposes for the brightest part of the frame — the background light — which means your face goes dark. Always position your main light source in front of your face, not behind it.
2. Mixed color temperatures
If your window light (which is blue-white daylight) is mixing with warm yellow ceiling lights, your camera has no idea what color "neutral" is. The result is odd color casts on your skin. Either close the blinds and use only artificial light, or turn off all artificial lights and use only window light. Mixing the two requires color grading in post-production to fix — something most beginners do not want to deal with.
3. Overhead ceiling lights as the main source
Overhead lights are designed to light rooms, not faces. Light coming straight down from above creates deep shadows in your eye sockets, under your nose, and under your chin — a look that is unflattering on virtually every face. Use your ceiling light as ambient fill at most, and use a dedicated front light as your main source.
4. Light that is too far away
Light follows the inverse square law, which means its intensity drops dramatically as distance increases. A lamp that looks bright from across the room may be doing very little by the time its light reaches your face from 8 feet away. Get your light source close — ideally 2–4 feet from your face for most setups — and then dim it if it is too strong.
5. Ignoring the background
Good face lighting with a pitch-black or blown-out background looks amateurish. A simple trick: point a separate small lamp at your background (a wall, bookshelf, or plant) to give it some definition. This immediately adds depth to your frame and signals a level of production intentionality that viewers notice even if they cannot articulate why.
How to Test Your Lighting Before You Film
Before committing to any setup for a full video, run this quick three-step check:
- White balance check: Film a 10-second clip and check that white surfaces (paper, a white shirt) look neutral white on screen, not orange or blue. If they are off-color, adjust your bulb color temperature or switch off conflicting light sources.
- Shadow check: Look at the shadows on your face. Is there a clear shadow on one side? Is it gradual and smooth (good) or harsh and abrupt (consider diffusing your light source)? Are there raccoon-eye shadows under your eyes (means your light is too high — lower it)?
- Background check: Look at what is behind your head. Is it too dark? Too bright? If the background is significantly brighter than your face, your camera will expose for it and darken your face. Adjust until your face is the brightest or second-brightest element in the frame.
This entire check takes less than two minutes and will save you from discovering an unfixable lighting problem halfway through a 20-minute recording session.
When to Invest in Better Lighting
The setups in this guide are not permanent solutions — they are starting points. Here are the signs that you have genuinely outgrown a budget setup and it is time to spend more:
- You are posting consistently (at least once a week for 2–3 months)
- Your channel is growing and people are returning to watch new videos
- You have identified the specific visual shortcoming that better lighting would fix
- You have watched your own videos critically and lighting is genuinely the limiting factor
Notice that "you just bought new cameras gear" is not on that list. Upgrade lighting before you upgrade cameras. A $30 LED panel improvement will do more for your video quality than jumping from a phone to a $500 mirrorless camera with the same bad lighting.
Key Takeaways
Getting your content creator lighting setup right on a budget is one of the highest-leverage moves you can make as a new or growing creator. Here is what to remember:
- Start with what you have. A window and a reflector made from a $1 piece of foam board can produce genuinely good footage. Do not wait until you can afford equipment.
- Light placement matters more than light quality. Even expensive lights look bad if they are positioned wrong. Get the angle and distance right first.
- Match your setup to your content type. A ring light is perfect for beauty content but looks oddly clinical for educational talking-head videos. Use the decision table above as a reference.
- Avoid mixed color temperatures. This single mistake accounts for a huge proportion of bad-looking beginner footage. Use one type of light source at a time.
- The $50 two-point softbox kit is the ceiling for beginner investment. Beyond $50, returns diminish quickly unless you have a clear, specific need that cheaper options cannot meet.
- Test before you film. A two-minute lighting check before every session is faster than re-filming or color correcting in post.
The creators who consistently produce the best-looking content at low cost are not the ones with the most gear — they are the ones who understand light itself. Learn to see how light falls on a face, what creates flattering versus unflattering shadows, and how to control your environment, and any of the five setups above will serve you well.